No se han encontrado productos.
How do you wear a GoPro while skiing?
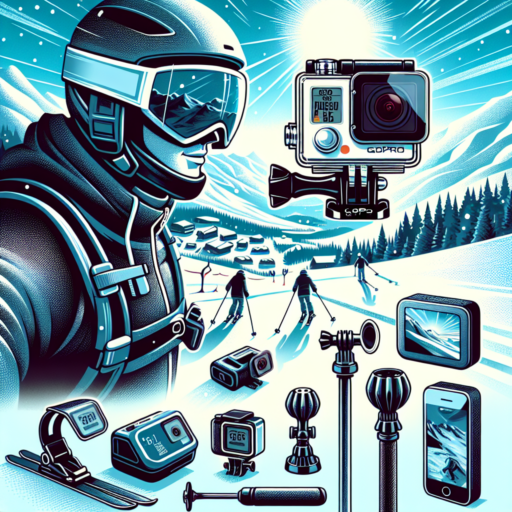
Wearing a GoPro while skiing can transform your snowy escapades into thrilling video stories to share with friends and family. There are several effective ways to mount your GoPro for the best shot, ensuring you capture every twist, turn, and exhilarating moment on the slopes.
Helmet Mount
One of the most popular methods is using a helmet mount. This position offers a stable, high vantage point that captures a clear view of your path, mimicking what you see as you ski. Attaching the GoPro to the front or side of your helmet is straightforward, ensuring it’s secure so it doesn’t shift while you’re in action. Make sure the camera angle is adjusted so you can see just a bit of your helmet or ski tips for a great point of reference in the footage.
Chest Harness
For those who prefer a more immersive perspective, a chest harness can be the way to go. This method places viewers right in the heart of the action, offering a more dynamic, engaging angle. The chest mount captures more of your arm and ski pole movement, providing a real sense of speed and terrain. It’s important to adjust the harness snugly to your body to prevent bouncing and to angle the camera upwards slightly to compensate for the forward lean typical in skiing.
Handheld Gimbal or Pole
Lastly, using a handheld gimbal or pole can give you the flexibility to capture a variety of angles and self-shots while skiing. A gimbal stabilizer can significantly improve video smoothness, ideal for recording those high-speed downhill runs. A pole mount, on the other hand, is great for selfie shots or filming your friends from various angles. Just ensure your grip is secure to avoid dropping your device in the snow.
What is the best GoPro setting for skiing?
Finding the perfect GoPro setting for skiing ensures you capture those thrilling moments on the slopes with crystal clarity and dynamic perspective. The best GoPro setting for skiing relies on a blend of resolution, frame rate, and image stabilization features optimized for high-speed activities in varying light conditions. Below, we explore these essential settings to help you record your skiing adventures like a pro.
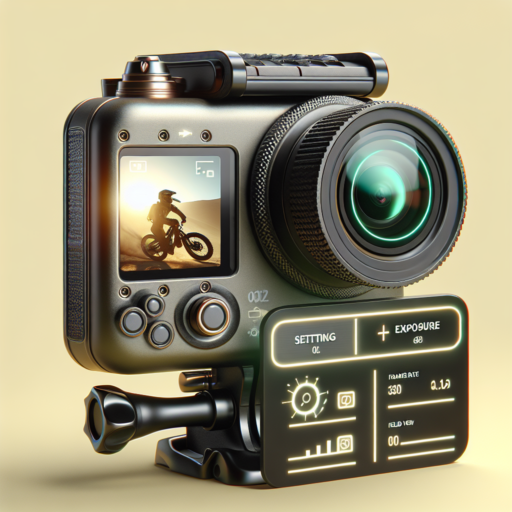
Resolution and Frame Rate
For capturing the wide, expansive nature of ski landscapes and the fast-paced action, a high resolution like 4K is recommended. When set at 4K, you can capture the smallest details from the glistening snowflakes to the intricate patterns of untouched snow. Pairing this with a high frame rate, such as 60fps (frames per second), ensures smooth playback of those high-speed moments. However, if you’re looking to create dramatic slow-motion effects from your footage, bumping up the frame rate to 120fps or 240fps at a lower resolution like 1080p serves best.
Image Stabilization
Skiing is an action-filled sport with plenty of bumps and rapid movements. To ensure your footage isn’t shaky but rather smooth and enjoyable to watch, turning on the Hypersmooth or similar stabilization feature is crucial. This setting compensates for abrupt movements and vibrations, making your video appear as if it was filmed with a professional steadicam. For GoPro users, leveraging Hypersmooth or SuperView settings can drastically improve the quality of skiing videos by providing a broader field of vision with minimal distortion.
Additional Tips
While focusing on resolution, frame rate, and image stabilization is key, don’t forget to adjust settings like Low Light options and Manual White Balance according to the season and time of day. These adjustments can greatly enhance the color accuracy and overall mood of your skiing videos, making them vibrant and true to life. Additionally, experimenting with different mounting positions can offer unique perspectives, from helmet to chest mounts, adding depth and excitement to your skiing story.
How to keep a GoPro warm when skiing?
Keeping your GoPro warm while skiing is crucial for maintaining battery life and ensuring it functions properly in cold weather. Low temperatures can significantly affect the performance of your GoPro, leading to shortened battery life and potential malfunction. There are several effective strategies to prevent your camera from getting too cold and to keep capturing those thrilling ski moments without interruption.
Use Insulating Materials
Wrapping your GoPro in insulating materials can effectively keep it warm. Consider using foam covers or specially designed GoPro cases that provide a layer of insulation. This not only keeps the camera warm but also offers additional protection from bumps and falls. Additionally, storing your GoPro in an inner jacket pocket close to your body when not in use can help maintain its temperature, leveraging your body heat as a natural warmer.
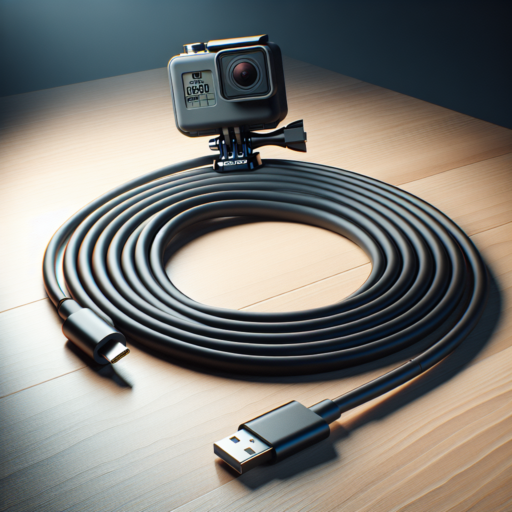
Keep Spare Batteries Warm
Always carry spare batteries and keep them warm, either in an inner pocket close to your body or in a small, insulated pouch. Cold batteries lose their charge much faster, so swapping out a cold battery for a warm one can significantly extend your GoPro’s shooting time. Remember to rotate batteries frequently, placing the used ones back in a warm spot to slowly warm up again for future use.
Adhering to these practices can considerably enhance your GoPro’s performance in cold environments, like when skiing. By insulating the camera, keeping spare batteries warm, and minimizing exposure to extreme cold, you can ensure that your GoPro remains ready to capture every exciting moment on the slopes.
Is it safe to put GoPro on ski helmet?
Many ski enthusiasts often wonder, Is it safe to put a GoPro on a ski helmet? This question arises from the desire to capture the thrilling moments on the slopes while ensuring safety is not compromised. When considering mounting a GoPro on your ski helmet, it’s crucial to understand both the benefits and potential risks involved.
Firstly, using a GoPro on a ski helmet does allow for hands-free operation, enabling skiers to focus fully on their descent without the distraction of holding a camera. This setup is designed to capture high-quality footage from the skier’s perspective, adding an engaging and dynamic element to ski videos. However, it’s important to ensure that the camera is securely attached to the helmet. A loose camera can become a significant hazard, not just for the skier, but also for others on the slopes.
Moreover, it’s vital to consider the helmet’s integrity when attaching a camera. Some helmets are designed with specific mounts for action cameras, which do not compromise the helmet’s protective features. Yet, attaching a camera to a helmet not equipped with such mounts can potentially alter the helmet’s structural integrity. In event of a crash, the helmet may not provide the intended level of protection, posing a risk to the skier’s safety.
Mounting Tips for Maximizing Safety
- Always use recommended mounts and accessories to ensure the camera is securely attached to the helmet.
- Check the camera and mount before each use to make sure they are tight and stable.
- Consider the position of the camera to minimize aerodynamic drag and the risk of catching on lift chairs or branches.
- Be aware of the weight distribution on your helmet. A correctly mounted camera should not significantly alter the balance or function of the helmet.