How do you fix a scratched Insta360 lens?
Fixing a scratched Insta360 lens can seem like a daunting task, but with the right approach, it’s entirely possible to restore your camera to pristine condition. The Insta360 series, known for its rugged durability and exceptional image quality, remains susceptible to the occasional scratch, particularly on its lenses. By understanding the corrective steps to take, you can ensure your device continues to capture those breathtaking 360-degree shots with clarity and precision.
First and foremost, it’s essential to assess the severity of the scratch. Minor scratches can often be addressed with a simple DIY approach, whereas deeper scratches might require professional intervention. For minor abrasions, a common method involves using a high-quality lens polishing cream. Apply a small amount of the cream onto a microfiber cloth and gently rub it in a circular motion over the scratched area. It’s crucial to be gentle to avoid further damage.
In cases where the scratch is too profound for polishing cream, another effective solution is to use a glass scratch repair kit. These kits usually contain a special compound and tools specifically designed for lens repair. Following the instructions meticulously will ensure the best outcome. Apply the compound onto the lens, using the tools provided to buff out the scratch. Patience is key, as this method may require multiple applications to achieve a satisfactory result.
It’s important to note that while these methods can significantly improve the appearance of scratches, preventing them in the first place is preferable. Using lens protectors and ensuring your Insta360 is stored in a secure, padded case when not in use can greatly reduce the risk of scratches. Remember, while minor scratches can be addressed at home, deeper or more severe damage should be inspected by a professional to ensure the integrity of your Insta360 lens is maintained.
No se han encontrado productos.
Can I get my camera lens replaced?
Having a damaged or malfunctioning camera lens can be a real concern for photographers, both amateurs and professionals alike. The question of whether you can get your camera lens replaced hinges on various factors including the type and severity of the damage, warranty status, and whether you are using a DSLR, mirrorless, or a compact camera. The good news is, in many cases, a replacement is indeed possible and can breathe new life into your cherished camera.
Manufacturer Services: One of the first places to consider when looking to replace your camera lens is the manufacturer. Many offer repair services for lenses still under warranty or for a fee if outside the warranty period. This can be the most reliable method to ensure that your camera lens is replaced with an original part and serviced by trained professionals. However, warranty terms and the availability of replacement parts can vary significantly across different brands and models.
Third-Party Repair Services
For those instances where a manufacturer service might not be an option, third-party repair services present a feasible alternative. These services can offer a cost-effective solution for lens replacement, especially for out-of-warranty repairs. Care should be taken to select reputable services that are known for quality work and using genuine parts, to preserve the functionality and image quality of your camera.
Regarding the specifics of getting your camera lens replaced, it’s essential to weigh the cost against the value of your camera. In some cases, especially with lower-priced models, the cost of replacement might approach or even exceed the value of the camera itself. Detailed research and professional advice can guide this decision, ensuring that you make the most informed choice possible.
How do you replace the lens guard on a Insta360?
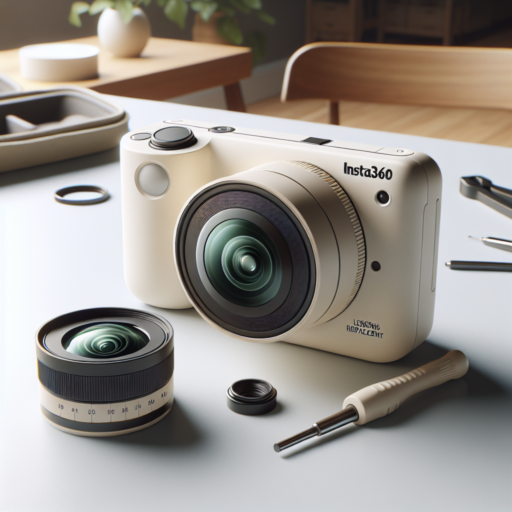
Replacing the lens guard on your Insta360 camera is a simple process that can significantly extend the life of your device and maintain the quality of your images. Whether you’re dealing with natural wear and tear or you’ve encountered a scratch that affects your footage, changing the lens guard is a practical solution. Here’s a step-by-step guide to help you through the replacement process smoothly.
Step 1: Gather the Necessary Tools
Before you start, ensure you have the right tools at hand. For most Insta360 models, a small Phillips screwdriver and a new lens guard are all you need. It’s crucial to use a lens guard specifically designed for your Insta360 model to ensure a perfect fit and avoid any further damage.
Step 2: Remove the Old Lens Guard
Start by carefully removing the old lens guard. Use the Phillips screw set to unscrew the tiny screws that hold the lens guard in place. Make sure to place the screws in a small container or on a magnetic mat to prevent them from getting lost. Once the screws are removed, gently lift the lens guard from the camera.
Step 3: Attach the New Lens Guard
With the old lens guard removed, it’s time to attach the new one. Place the new lens guard over the lens, ensuring it aligns properly. Once in place, reinsert and tighten the screws you previously removed, securing the new lens guard to the camera. Be careful not to over-tighten the screws as it could damage both the screws and the camera itself.
What is the warranty on the Insta360 Ace Pro lens?
The warranty coverage for the Insta360 Ace Pro lens is a topic of importance for both current and prospective owners of this cutting-edge camera equipment. Understanding the nuances of the warranty can provide users with peace of mind and ensure they fully comprehend the protection their investment receives.
Insta360 has put forward a comprehensive warranty policy to back its Ace Pro lens, significantly highlighting the company’s commitment to customer satisfaction and product reliability. Generally, the Insta360 Ace Pro lens comes with a standard warranty valid for a period of one year from the date of purchase. This warranty fundamentally covers any defects in materials and workmanship under normal use. It’s crucial for users to note that warranty claims require proof of purchase, and the warranty is only valid for the original purchaser.
However, it’s important to keep in mind that the warranty might not cover all situations. Issues arising from misuse, unauthorized modifications, or accidents are typically excluded. Owners are encouraged to review the warranty terms carefully to understand the scope of coverage fully.