No se han encontrado productos.
How do I charge my USB fitness tracker?
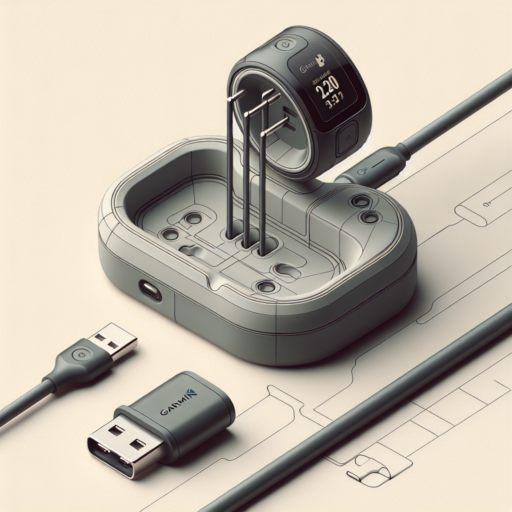
Charging your USB fitness tracker is a straightforward process, but it’s critical to follow the correct steps to ensure its longevity and optimal performance. Primarily, you’ll need to identify the type of charging method your tracker employs, as some models come with a built-in USB connector, while others might require a specific charging dock or cable.
Step-by-Step Charging Process
To properly charge your USB fitness tracker, firstly locate the charging points on your device. If your tracker has a built-in USB plug, you can directly connect it to a power source. For those requiring a cable or dock, ensure it is firmly connected to both the tracker and the power supply. It’s essential to use the original charging accessories to prevent any damage. Plug the charger into a USB port or a certified USB wall charger, avoiding computers in sleep mode to ensure a stable power flow.
Tips for Efficient Charging
- Always charge your fitness tracker before its battery fully drains to prolong the battery life.
- Avoid charging your device in extreme temperatures to prevent battery damage.
- Regularly clean the charging ports or docks with a dry cloth to ensure they remain free of debris and dust.
Understanding the correct way to charge your USB fitness tracker ensures that the device remains in top condition, ready to track your fitness journey effectively. By adhering to the recommended charging practices, you maintain the tracker’s efficiency and extend its service life, making it a reliable companion in achieving your fitness goals.
How do I charge my smart watch with a USB charger?
Charging your smartwatch with a USB charger is a simple process that can be done in just a few steps. The most important thing to ensure is that you have the correct USB charger and cable that is compatible with your smartwatch. Once you have those, the charging process is quite straightforward.
Step 1: Connect the USB Charger
First, take the USB charger and plug it into an available USB port. This can be on a computer, a USB wall charger, or any other device with a USB port. It’s crucial to use a power source that provides an adequate amount of power for your smartwatch to charge efficiently.
Step 2: Connect Your Smartwatch
Next, you will need to connect your smartwatch to the charger. This usually involves attaching the charging cable to the back of the smartwatch. Many smartwatches use magnetic charging cables or pins that align with contacts on the back of the watch. Make sure the connection is secure to ensure a smooth charging process.
In addition to ensuring a proper connection, it’s also important to check your smartwatch’s specific charging requirements. Some devices may have particular settings that need to be activated or specific conditions under which they charge more effectively. For instance, turning your smartwatch off or placing it in a specific mode may facilitate a faster charging process.
By following these steps and ensuring you’re using compatible equipment, your smartwatch should charge without any issues using a USB charger.
How to charge an ifitness activity tracker?
Charging your iFitness activity tracker is an essential step to ensure it keeps tracking your activity accurately. Whether you’re new to using an iFitness activity tracker or simply need a reminder, the process is straightforward and requires minimal effort. Notably, maintaining a routine charging schedule contributes to the longevity and efficiency of your device.
Identify the Charging Method
Firstly, identify the specific charging method your iFitness model requires. Most models come with a custom charging cable that connects to a USB port. It’s critical to use the provided cable to avoid any potential damage or charging issues. If your device supports wireless charging, ensure it’s properly aligned on the charging pad. Using the correct charging method is paramount for the health of your activity tracker.
Connecting Your Tracker to Power
Once you have your charging cable or dock ready, connect it to a power source. You can use a USB port on a computer, a USB wall charger, or a power bank. After establishing a connection, carefully attach your iFitness tracker to the charger. You should see some indication on the device that it is charging, such as a battery icon or a light. If not, ensure the connections are secure and the power source is active. Patience is key; allow your tracker ample time to fully recharge before resuming use.
Keeping your iFitness activity tracker charged is not just about having it ready when you are; it’s about extending its service life and optimizing its tracking accuracy. By following these simple steps and ensuring regular charging routines, you can maintain your device’s efficiency and reliability, helping you stay on top of your fitness goals.
How to remove fitbit charger?
Removing your Fitbit from its charger can sometimes feel a bit trickier than it should. Whether you’re new to the world of Fitbit or just need a quick refresher, understanding the correct way to detach your device can ensure both its longevity and your ease of use. Below, we will explore the straightforward steps necessary to securely remove your Fitbit from its charging station without causing any damage to the device.
Identify Your Fitbit Model
Before attempting to remove your Fitbit from its charger, it’s crucial to identify your model. Different Fitbit models may have slightly different removal methods due to their unique docking or charging mechanisms. For instance, a Fitbit Charge series device may have a different release mechanism compared to a Fitbit Versa. Knowing your model will help streamline the removal process.
Steps to Safely Remove Your Fitbit Charger
- Gently hold the charger in one hand and the Fitbit device in the other. Ensure you have a good grip but avoid applying too much pressure which might damage the device.
- For clip-on chargers, press the button (if present) and gently slide the Fitbit out of the charging dock.
- If your charger encases the Fitbit device, gently squeeze the sides of the charger and lift the device out. This action should be smooth to prevent harming the device connectors.
It’s vital to understand that the removal process should not require excessive force. If you’re finding it difficult to remove your Fitbit from its charger, double-check that you’re following the method specific to your model and that the charger is not damaged. In cases of persistent difficulty, consulting the Fitbit’s user manual or reaching out to Fitbit support can provide additional guidance without risking damage to your device.