No se han encontrado productos.
How to export data from Nike Run Club?
Exporting your running data from Nike Run Club can seem challenging at first, but with the right steps, you can easily manage your workout information. Whether you’re looking to analyze your progress over time or share your achievements with other fitness apps, understanding how to transfer your Nike Run Club data is essential. This guide will walk you through the basic steps to export your data seamlessly.
Initiating the Export Process
To start exporting your data from Nike Run Club, the first thing you need to do is access your account settings within the app. Look for an option labeled ‘Export Data’ or similar. This action typically prompts the app to compile your data, which may take some time depending on how much information it needs to process. Once compiled, Nike Run Club often facilitates the data export through an email link, where you can download your running data in a convenient format, usually as a CSV file.
Understanding Your Data Format
Once you receive your Nike Run Club data, it’s important to understand the format to make the most out of it. The CSV file typically includes detailed information like date, distance, pace, and duration of your runs. This format is widely compatible with various fitness and health apps, allowing for easy data sharing and analysis. Look for specific columns that are pertinent to your fitness goals and focus on those metrics during your review.
Common Challenges and Solutions
Exporting data from Nike Run Club can occasionally present challenges, such as delays receiving the export email or issues with data formatting. If you encounter any problems, checking the Nike Run Club’s FAQ section or reaching out to their support team can provide you with the guidance needed to resolve these issues efficiently. Additionally, consider using third-party apps that are compatible with Nike Run Club for an alternative method of accessing and analyzing your data.
How do I import an activity to Strava?
Importing an activity into Strava is a straightforward process that enables athletes around the world to keep all their workout data in one place. Whether you’re a seasoned pro or new to tracking your fitness journey, understanding how to upload your activities can enhance your training insights and help you share your achievements with a vibrant community. Below, we’ll walk through the easy steps to ensure your workouts are always up-to-date on Strava.
Step-by-Step Guide to Importing Activities
First, it’s essential to know that Strava supports importing from various devices and apps to make your transition as seamless as possible. The process might slightly differ depending on your specific device or app, but the general steps remain consistent:
- Log into your Strava account on the website or through the mobile app.
- Navigate to the plus icon on the mobile app or the upload button on the website.
- Select «File» or «Device» to upload an activity file directly or sync from a compatible device.
- If you’re uploading a file, choose the file from your device, then click on the «Upload» button to finalize the process.
Remember, Strava is compatible with files in .GPX, .TCX, and .FIT formats. This compatibility ensures that most GPS-enabled devices will work with Strava, making it all the more convenient for users to import their activities. Should you face any issues during the upload, Strava’s support team is ready to assist and resolve common problems such as file corruption, incompatible formats, or syncing errors.
Which is more accurate Strava or NRC?
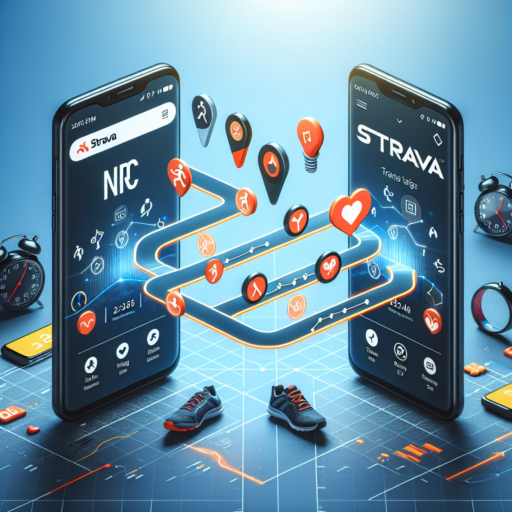
When discussing the accuracy of fitness apps like Strava and Nike Run Club (NRC), it’s essential to consider what athletes and fitness enthusiasts value in their training metrics. Accuracy in these apps can significantly affect how users track their progress, plan their workouts, and understand their physical health. Both Strava and NRC offer unique features that may influence their precision in tracking workouts, but they cater to slightly different audiences which can affect how accuracy is perceived.
Determining Accuracy
Accuracy in fitness apps can be assessed in several ways, including GPS tracking capabilities, the algorithm’s effectiveness in calculating distance and pace, and the consistency in tracking workouts under varied conditions. Strava, known for its robust social network features, also prides itself on reliable GPS tracking, which is crucial for cyclists and runners who frequently use unfamiliar routes. On the other hand, Nike Run Club targets more casual runners and focuses on motivational features alongside its tracking capabilities. NRC’s accuracy, while generally reliable, might be slightly less consistent in areas with poor GPS signal compared to Strava.
Features Influencing Accuracy
- GPS Tracking: Both Strava and NRC use GPS to track outdoor activities, but Strava’s algorithm is often cited as more sophisticated in handling discrepancies in signal.
- User Interface: The ease of starting, pausing, and ending workouts might affect the accuracy of the recorded data. Strava’s interface is streamlined for experienced athletes, while NRC caters to a broader audience with a more guided experience.
- Community Feedback: Strava’s community features, like segments, allow users to compare their times over specific routes with others, providing an indirect yet valuable measure of accuracy through communal data.
Both Strava and NRC have their strengths and flaws when it comes to tracking athletic performance accurately. While Strava is often hailed for its advanced GPS capabilities and the added layer of community verification, NRC brings a user-friendly interface and motivational tools that appeal to many runners. The choice between Strava and NRC may finally hinge on personal preference and the specific features that matter most to the individual user.
Can you connect NRC to Garmin?
Integrating your Nike Run Club (NRC) app with Garmin devices can greatly enhance your fitness tracking and provide a seamless experience for runners who swear by both platforms. While direct integration between NRC and Garmin may seem challenging, there exist workaround methods that allow users to enjoy the benefits of both ecosystems. Let’s dive into how you can bridge your running data between these two powerful platforms.
Understanding the Compatibility
At the core of this integration challenge is the compatibility issue. NRC and Garmin use different formats and systems to track and store your running sessions. This disparity makes a direct connection complicated. However, through the use of third-party apps and some manual steps, users can bypass these limitations. The key is to find a reliable intermediary that can translate and transfer your workout data from Garmin to NRC without losing the valuable insights you’ve gained during your runs.
Steps to Connect NRC to Garmin
Connecting your NRC app to a Garmin device requires a bit of effort but is entirely possible with the right tools. Initially, users must sync their Garmin data to a compatible third-party app that supports both Garmin and NRC. Subsequently, this app will act as a bridge, enabling the transfer of your fitness data to NRC. This process, while not straightforward, opens up a pathway for data sharing that hitherto seemed implausible.
Adopting this approach not only expands the functionality of your Garmin device but also enriches the NRC experience by adding layers of data previously unattainable. Your persistence in setting up this connection can ultimately lead to a more informed and enriched running journey.


