No se han encontrado productos.
How do you calculate training load?
Calculating training load is crucial for athletes and trainers alike, aiming to maximize performance while minimizing the risk of injury. It involves quantifying the total stress placed on an athlete during training sessions. This calculation is not just about tracking the physical exertion but also understanding the physiological impact on the body over time. By accurately measuring training load, individuals can optimize their training routines, ensuring each session contributes effectively towards reaching their fitness goals.
To start the process of calculating training load, one common method used is the session-RPE method. This approach combines the total duration of the training session with the athlete’s perceived exertion level. The perceived exertion is usually measured on a scale of 1 to 10. By multiplying the duration of the workout in minutes by the perceived exertion level, a quantifiable figure is obtained, which reflects the training load for that particular session. This method is praised for its simplicity and has been widely adopted for its effectiveness in various sports disciplines.
Another method involves leveraging heart rate data to calculate training load. This approach takes into account the time spent in different heart rate zones during a training session. By applying specific multipliers to the minutes spent in each zone, a more nuanced understanding of the training load can be achieved. This method is particularly useful for endurance sports, where maintaining specific heart rates is crucial to training success. However, it requires access to reliable heart rate monitoring equipment, which may not be feasible for all athletes or trainers.
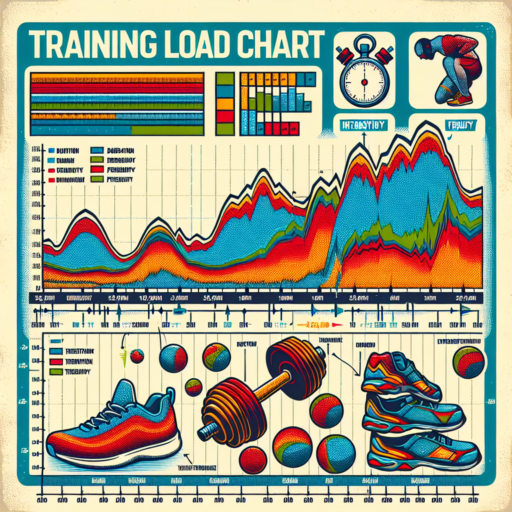
How to use a training load chart?
Understanding how to use a training load chart effectively can revolutionize the way you approach your fitness or training regime. A training load chart is a powerful tool used to plan, track, and analyze your workouts to maximize performance and minimize the risk of injury.
Step 1: Understanding the Basics
Begin by familiarizing yourself with the key components of the chart, such as volume, intensity, and frequency. These variables provide insight into the overall stress your training sessions place on your body. Volume refers to the total amount of work done, intensity to how hard each session is, and frequency to how often you train.
Step 2: Tracking Your Training Load
Record your daily training activities in the chart, noting down specific exercises, the volume (e.g., distance run, weight lifted), intensity (e.g., speed, resistance level), and frequency of your workouts. Over time, this data will allow you to analyze patterns and understand how changes in your training load affect your performance and well-being.
Step 3: Adjusting Your Training Plan
Use the insights gained from your chart to make informed decisions about how to adjust your training for optimal results. If you notice signs of overtraining or inadequate progress, it might be time to modify your volume, intensity, or frequency. Always ensure adjustments are gradual and tailored to your personal fitness level and goals.
What should training load be?
Determining the appropriate training load is crucial for athletes at all levels to optimize performance and prevent injuries. It’s a delicate balance between applying enough stress to stimulate adaptation and improvement, while avoiding excessive strain that leads to overtraining and potential harm.
The ideal training load varies widely among individuals, influenced by factors such as age, fitness level, training history, and specific sporting goals. An effective approach is to follow the principle of progressive overload, gradually increasing the intensity, volume, and frequency of training sessions in a systematic way. This method ensures ongoing improvement while minimizing the risk of injury.
Incorporating a mix of training modalities, such as strength, endurance, and flexibility exercises, can also help optimize training load. Monitoring tools and techniques, such as heart rate variability (HRV) and the Rate of Perceived Exertion (RPE) scale, are valuable for assessing an athlete’s response to their current training load and making necessary adjustments. As fitness levels and goals change, so too should the training load, making ongoing evaluation a key component of any successful training regimen.
How many reps at 80%?
Determining the ideal number of reps at 80% of your one-rep max (1RM) is crucial for those focusing on strength training and muscle hypertrophy. At this intensity, you’ll primarily be working in a range that challenges both your muscle strength and endurance, leading to significant muscle growth and strength gains over time.
Typically, the recommended number of reps at 80% of your 1RM falls within the 4-8 range. This rep range strikes a balance between sufficient volume for muscle growth and the intensity needed for strength development. It’s important to note that individual factors such as training experience, muscle fiber composition, and overall fitness goals can influence how many reps one can or should perform at this intensity level.
Training in this specific rep range requires not only physical readiness but also mental preparation, as the sets can be challenging and push you close to muscular fatigue. Adjustments might be necessary based on your training phase, with some phases possibly emphasizing slightly higher reps at a slightly lower intensity or fewer reps at a higher intensity.