No se han encontrado productos.
How to draw a compass rose on the map?
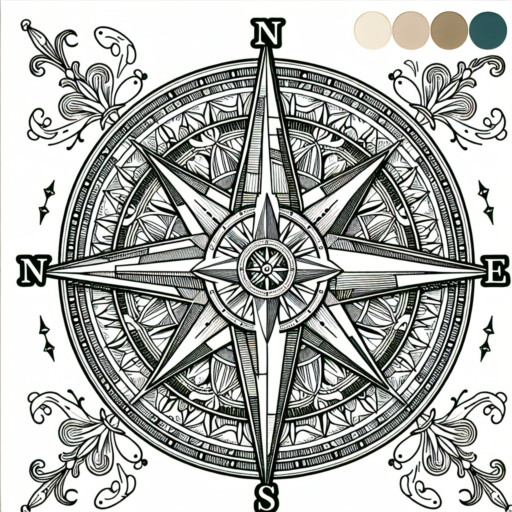
Drawing a compass rose on a map is not only a way to enhance its aesthetic appeal but also an essential feature to improve its functionality. The compass rose, with its principal directions – North, East, South, and West, guides the map reader through navigation. This task can seem daunting at first, but by following a few simple steps, you can add this navigational tool to any map easily.
Step 1: Choose the Right Position
Start by deciding where on your map you want to place the compass rose. Typically, the lower right or left corner is preferred to avoid overcrowding the map’s central area. However, depending on the map’s layout and purpose, you might find other locations more suitable.
Step 2: Draw the Principal Directions
Using a straight edge, draw a vertical line for North-South and a horizontal line for East-West. These lines should intersect exactly in the middle, forming a cross. This step is crucial as it lays the foundation for your compass rose, ensuring it accurately represents the cardinal directions.
Step 3: Add Intermediate Directions
Once the principal directions are in place, the next step is to add the intermediate directions – Northeast, Southeast, Northwest, and Southwest. Insert these by drawing additional lines at a 45-degree angle between the primary lines. It helps to use a protractor for precision, ensuring your compass rose is both beautiful and functional.
How to create a compass rose?
Crafting a compass rose, a navigational symbol showcasing the directions North, South, East, and West along with their intermediate points, is not only a fun DIY project but also a way to embellish maps and enhance your understanding of geographic directions. This guide walks you through the basic steps to create your own compass rose with ease.
Materials Needed
- Paper or Cardstock: A sturdy base for your compass rose.
- Pencil and Eraser: For sketching the outline before making it permanent.
- Ruler: To create straight lines and ensure symmetrical proportions.
- Compass (Drawing Tool): Essential for drawing perfect circles.
- Markers or Colored Pencils: To bring your compass rose to life with color.
Step-by-Step Guide
Start by placing your paper on a flat surface. Using your drawing compass, draw a large circle which will serve as the base for your compass rose. Inside this circle, draw a smaller one to create a concentric circle look. This inner circle will serve as the guide for your main cardinal points.
Next, with the aid of your ruler, draw a line through the center of the circles, vertically and horizontally, dividing your circle into four equal quadrants. These lines are the foundation for the North (N), South (S), East (E), and West (W) directions. Make sure your lines are straight and accurate, as symmetry is key to a visually appealing compass rose.
Now comes the creativity: embellishing your compass rose. Add finer details like the intermediate directions — Northeast (NE), Southeast (SE), Northwest (NW), and Southwest (SW) between your main cardinal points. You can enhance its visual appeal by using different colors for each direction and adding ornamental designs around the edges of your compass rose.