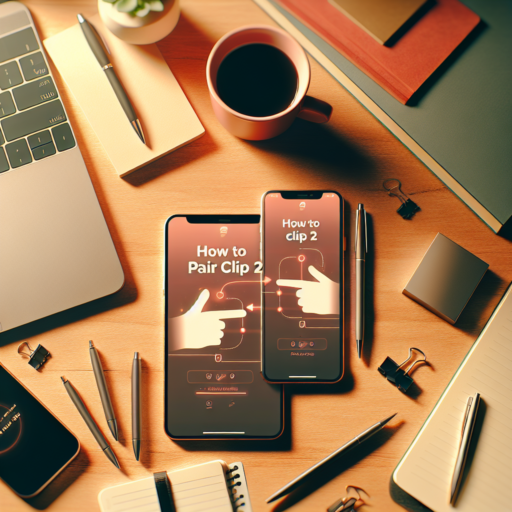
How to pair a JBL Clip 2?
Paring your JBL Clip 2 with a smartphone or any Bluetooth device could enhance your music experience by offering portability and high-quality sound on the go. The first step involves activating the Bluetooth pairing mode on your JBL Clip 2. Simply press and hold the power button until the device illuminates and the audio signal indicates it’s ready to pair. This initial step is crucial for a successful connection.
Ensure your device’s Bluetooth is turned on. Navigate through the settings menu of your smartphone or tablet to find the Bluetooth options. Once in the Bluetooth menu, enable it if it isn’t already turned on. Your device will start searching for available devices to connect to. Look for the “JBL Clip 2” in the list of available devices and select it. A successful connection will typically be indicated by another audio signal from your speaker, confirming the pairing.
Common Troubleshooting Tips
- If your JBL Clip 2 does not appear in the available devices list, try resetting the Bluetooth connection by turning your device’s Bluetooth feature off and on again.
- Ensure your JBL Clip 2 is charged sufficiently as low battery levels can sometimes hinder the pairing process.
- In cases where multiple devices have been connected to your JBL Clip 2 in the past, it may help to clear the speaker’s Bluetooth memory. This can be done by pressing and holding the Bluetooth button for about 5 seconds until the audio signal is heard, indicating the memory has been cleared.
How to put JBL 2 in pairing mode?
Putting your JBL 2 speaker into pairing mode is a straightforward process that allows you to connect it with your favorite devices and enjoy high-quality audio wherever you go. The process involves a few simple steps that will have your device ready to pair in no time.
Firstly, ensure your JBL 2 speaker is fully charged or connected to a power source. This is essential as attempting to put your device in pairing mode without sufficient battery power may be unsuccessful.
Steps to Enable Pairing Mode
- Turn on your JBL 2 speaker by pressing the power button. You should see the power indicator light up, signifying the device is on.
- Press and hold the Bluetooth button for approximately 3 seconds. The Bluetooth indicator on the speaker will start blinking blue, indicating that the speaker is in pairing mode.
- On your mobile device or computer, open the Bluetooth settings and search for available devices. Your JBL 2 speaker should appear on the list of available devices, usually listed as «JBL 2» or a similar name.
- Select your JBL 2 speaker from the list to establish a connection. Once connected, the Bluetooth indicator on the speaker will remain lit, signaling a successful pairing.
Remember, if your JBL 2 speaker does not enter pairing mode, ensure it is not currently connected to another device. Bluetooth speakers sometimes automatically reconnect to previously paired devices when turned on, which could prevent it from entering pairing mode. If this is the case, you may need to disconnect or forget the speaker on your device’s Bluetooth settings before attempting to pair it again.
Why won’t my JBL Clip 2 connect to my phone?
Experiencing issues with your JBL Clip 2 not connecting to your phone can be frustrating, especially when you’re looking forward to enjoying your favorite tunes on the go. There are several common reasons that could be behind this connectivity challenge. Understanding these could help you swiftly resolve the issue and get back to enjoying seamless music streaming.
Compatibility and Bluetooth Settings
One primary reason your JBL Clip 2 might not be connecting is due to compatibility issues or incorrect Bluetooth settings. Ensure that your phone’s Bluetooth is turned on and is in discoverable mode. Additionally, check if your phone’s operating system is up to date and compatible with the JBL Clip 2. Sometimes, simply turning the Bluetooth off and on again can refresh the connection and solve the problem.
Device Pairing History
Your JBL Clip 2 has a limited number of devices it can remember for automatic pairing. If you’ve connected multiple devices in the past, your speaker might have reached its memory limit. In such cases, try clearing the speaker’s pairing history by holding down the Bluetooth button for a longer period. This action resets its memory, allowing you to attempt a fresh connection with your phone.
Addressing the root cause of why your JBL Clip 2 won’t connect to your phone requires a bit of troubleshooting, but it’s usually a quick fix. Whether it’s ensuring compatibility, refreshing your Bluetooth settings, or resetting the device’s memory, these steps often lead to a successful connection.
No se han encontrado productos.
How do you reset Clip 2?
Resetting your Clip 2 is a straightforward process that can solve various issues, from connectivity problems to unresponsive behavior. Whether you’re troubleshooting or just looking to start fresh, the reset procedure ensures your device functions optimally. Let’s go through the steps required to perform a reset on your Clip 2 device.
Steps to Reset Clip 2
- Firstly, ensure your Clip 2 is powered on. If it’s unresponsive, try charging it for a few minutes before attempting the reset.
- Locate the reset button on your device. For the Clip 2, the reset button is typically found near the volume controls or under a small panel on the device’s edge. You might need a small tool, like a paperclip, to press it.
- Press and hold the reset button for about one to two seconds. You’ll need to use a bit of force, but be careful not to damage the button.
- Wait for the device’s light to blink, signaling that the reset is complete. Once you see this, you can release the reset button and your Clip 2 should restart automatically.
After completing these steps, your Clip 2 will return to its default settings, erasing any stored data and potentially resolving any issues you’ve been experiencing. Remember, resetting should be done cautiously as it wipes all your customizations and saved preferences on the device.