How do you draw a easy Croc shoe?
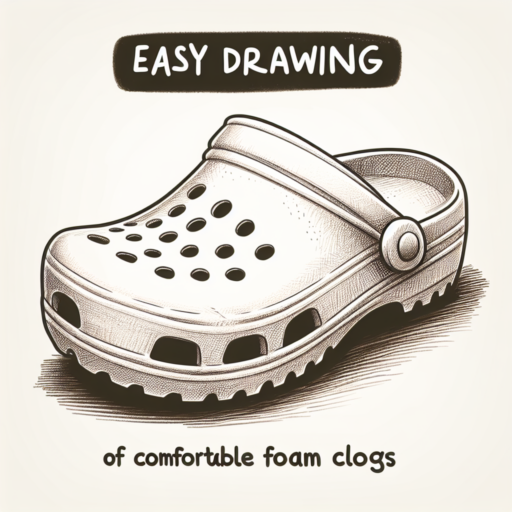
Drawing a Croc shoe might seem like a daunting task due to its unique design and texture, but with simple steps, anyone can capture its iconic look. Begin by focusing on its most recognizable feature: the shape. Croc shoes are known for their distinct, wide-front design, which should be your starting point. Sketch lightly at first, allowing room for adjustment as your drawing progresses.
Once you have the basic outline, it’s time to add the details that make a Croc, a Croc. Pay special attention to the holes on the top and sides of the shoe, known as the ventilation holes. A helpful tip is to draw these holes evenly spaced to mirror the functional yet iconic aspect of the shoe. Additionally, don’t forget the strap at the back, which can be drawn in a simple curved line to suggest its flexibility and utility.
Lastly, to bring your Croc shoe to life, add some shadows and texture. Use light shading around the edges and inside the ventilation holes to create depth. For a more realistic look, you might also want to include the rugged texture of the sole. A series of short, fine lines or dots can effectively suggest the grippy surface beneath the shoe. Remember, the key to drawing is observation and practice, so don’t be discouraged if it takes a few tries to get it right.
How to draw a crocodile sketch?
Drawing a crocodile might seem daunting at first, but with a simple step-by-step approach, anyone can create a realistic sketch of this fascinating reptile. Begin by understanding the basic shape and proportions of a crocodile. Their bodies are long and streamlined, with powerful tails and distinctive snouts. This understanding will serve as the foundation for your sketch.
Start by drawing a long, narrow oval for the body and attach a slightly curved line for the tail. For the head, sketch another smaller oval at one end of the body, ensuring you capture the crocodile’s pointed snout. Remember, the key to a great crocodile sketch lies in the details, such as the texture of the skin and the size and placement of the eyes. Adding these finer details will bring your crocodile sketch to life.
Next, focus on the limbs. Crocodiles have short but sturdy legs, so draw them with a bit of thickness. Their feet have webbed toes, which are essential for swimming. Sketch the legs so that two are visible on the nearest side of its body, with the hint of the other limbs visible on the far side. As you refine your drawing, keep in mind the crocodile’s distinctive scales. Use short, jagged lines to mimic the rough texture of its skin, which adds realism to your sketch.
No se han encontrado productos.
How to draw an ice cream cone?
Drawing an ice cream cone is a delightful and easy project that artists of all skill levels can enjoy. The process involves simple shapes and allows for a great deal of creativity. Whether you’re looking to create a traditional cone or something more whimsical, the following guidelines will help you bring your vision to life.
Step One: Sketch the Cone
Begin with the base of your ice cream cone by drawing a narrow, upside-down triangle. This shape will serve as the cone itself. To achieve a more realistic look, you can add texture details such as crisscross patterns that mimic the waffle texture commonly found on cones. Remember, the lines at this stage should be light, as this is only the sketching phase and adjustments may be needed.
Step Two: Add the Ice Cream Scoop
Atop the cone, draw a half-circle to represent the ice cream scoop. The beauty of this step is in its flexibility; you can adjust the size and shape to mimic various ice cream types, from a perfectly scooped ball to a more melted and natural shape. To add volume and depth to your ice cream, consider adding some curves and lines on the scoop that mimic the creamy texture of real ice cream.
How to draw a penguin for kids?
Drawing a penguin can be a fun and educational activity for kids, providing them with the opportunity to develop their fine motor skills and explore their creativity. Penguins, with their simple yet distinct body shapes, make an excellent subject for children who are learning how to draw.
Step-by-Step Guide to Penguin Drawing
Start by encouraging kids to draw a large oval shape for the penguin’s body and a smaller circle for the head. It’s important to remind them that the shapes don’t have to be perfect. The uniqueness of each shape adds character to their drawing. Next, guide them to add two flippers on either side of the body and small feet at the bottom. For the penguin’s face, drawing two simple dots for eyes and a triangle for the beak will suffice.
Adding Details and Colors
Adding details such as the penguin’s tuxedo-like belly can be a delightful step. Encourage kids to draw a large oval or a heart shape inside the penguin’s body for this. To bring their penguin to life, suggest using colors like black and white for the body and yellow for the beak and feet. Reminding them that penguins often have unique patterns can inspire creativity, allowing them to customize their penguin with their favorite colors.
Drawing should be a stress-free activity. Emphasize to children that the goal is not to create a perfect drawing but to enjoy the process and express their creativity. Each penguin drawing will have its own personality and style, which is what makes drawing so much fun for kids.