How do I change the band on my Fitbit Charge 2?
Changing the band on your Fitbit Charge 2 is a straightforward process that can give your device a fresh look and feel. Whether you want to switch to a band that suits a specific outfit or replace an old one, follow these simple steps:
Prepare Your Fitbit Charge 2
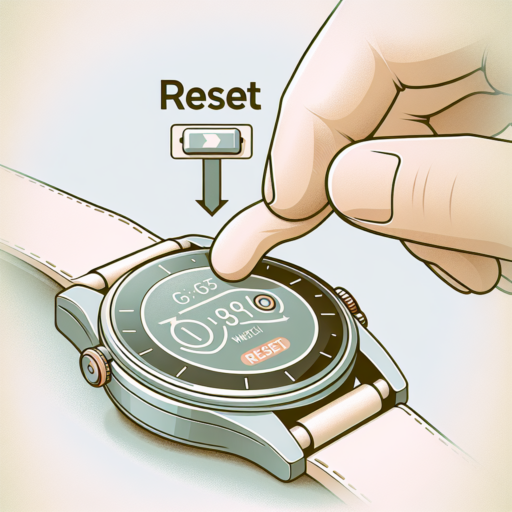
Before you begin, ensure your Fitbit Charge 2 is powered off to avoid any unintentional input. Lay your device down on a soft, flat surface to prevent any scratches or damage during the band changing process.
Removing the Old Band
- Hold your Fitbit Charge 2 securely, face down.
- Look for the band latches—there’s one on each end of the Fitbit device. These band latches are small metal pins you can press to release the band.
- Gently press down on the latch and simultaneously slide the band away from the tracker to remove it. Repeat this process on the other side.
Attaching the New Band
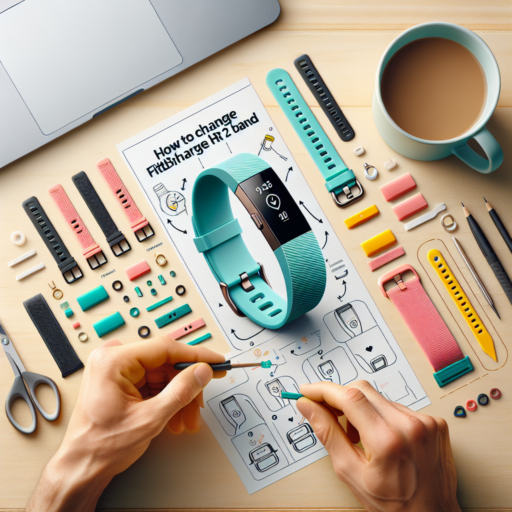
- Once the old band is removed, take your new band and align it with the end of your Fitbit Charge 2 tracker.
- Hold one end of the band in place while you slide it back into the tracker until you feel a click, indicating the band is securely attached.
- Repeat the process with the other end of the band. Ensure both ends are firmly attached by gently pulling on the band to test their security.
With these steps, you can easily customize your Fitbit Charge 2 for any occasion or simply refresh its look. Remember, it’s important to regularly clean both your device and bands to maintain their appearance and functionality over time.
How to change fitbit charge hr strap?
Changing the strap on your Fitbit Charge HR can give your device a fresh look and can be a great way to personalize your fitness tracker to match your style. Whether you want to replace a worn-out strap or simply change up the color, the process is quite straightforward. Here, we’ll guide you through the steps to change your Fitbit Charge HR strap effortlessly.
Step 1: Gather the Necessary Tools
Before you begin, it’s essential to have the right tools at hand. For the Fitbit Charge HR, you’ll need a small screwdriver that matches the screws on your device. Some strap kits come with the necessary screwdriver, so make sure to check your package before getting started.
Step 2: Remove the Old Strap
First, turn off your Fitbit Charge HR to avoid any accidental inputs. Locate the screws that attach the strap to the tracker. Using your screwdriver, carefully remove these screws and keep them in a safe place – you’ll need them to attach the new strap. Gently pull the old strap away from the device once the screws are removed.
Step 3: Attach the New Strap
With the old strap removed, take your new strap and align it with the tracker’s attachment points. It’s crucial to ensure the strap is facing the right way for your comfort and the device’s functionality. Secure the new strap by replacing the screws you set aside earlier. Tighten them until they’re snug, but be careful not to over-tighten as this could damage the screws or the device itself. Once everything is secure, power on your Fitbit Charge HR and enjoy your newly personalized look!
No se han encontrado productos.
Does Fitbit Charge 2 have replacement bands?
The question of whether the Fitbit Charge 2 has replacement bands available is a common concern among users and potential buyers. The simple answer is yes, Fitbit Charge 2 does offer a range of replacement bands, catering to the need for customization and durability. These replacement bands are designed to enhance the user experience, providing different styles, colors, and materials to choose from.
Replacement bands for the Fitbit Charge 2 are widely accessible, ensuring that users can easily find a band that matches their personal style or mood. From classic designs to more fashion-forward options, there is a variety of choices available. These bands are not only about aesthetics but are also crafted to ensure comfort during prolonged wear, making them ideal for both everyday use and intense workout sessions.
Moreover, the process of changing the bands on the Fitbit Charge 2 has been simplified, allowing users to quickly swap bands to keep their device looking fresh and new. Whether you’re looking to replace a worn-out band or just want to update the look of your Fitbit, there are multitude options available online and in stores. This ease of customization is a significant draw for many users, enhancing the overall appeal of the Fitbit Charge 2.
How to change wrist settings on Fitbit Charge 2?
Changing the wrist settings on your Fitbit Charge 2 is an essential step for ensuring accurate tracking and a comfortable fit. Whether you’re a new user or just looking to tweak your device for better performance, modifying these settings can make a significant difference in your daily use.
Accessing the Wrist Settings
To start adjusting your Fitbit Charge 2 wrist settings, you’ll need to access the Fitbit app on your connected smartphone. Once in the app, navigate to the ‘Account’ icon at the bottom right corner. Tap on your device image, which should be the Charge 2, to open the device settings. Scroll until you find the ‘Wrist’ option. Here, you’ll be able to switch between wearing the device on your dominant or non-dominant hand.
Adjusting for Comfort and Accuracy
Ensuring that your Fitbit Charge 2 is not too tight or too loose is crucial for comfort and tracking accuracy. The heart-rate tracking feature, in particular, relies heavily on proper fit. Choose «Dominant» if you wear the tracker on your dominant hand, as Fitbit will adjust its sensitivity to account for more movement. Conversely, selecting «Non-Dominant» will tell the device you’re wearing it on the less active hand, offering a balance between comfort and precision tracking.
Remember, changing these settings can directly influence the step count and heart-rate data accuracy. Therefore, it’s advisable to experiment with both settings for a few days each to find which configuration best matches your activity levels and provides the most accurate readings.