No se han encontrado productos.
Can you add dexcom as a widget?
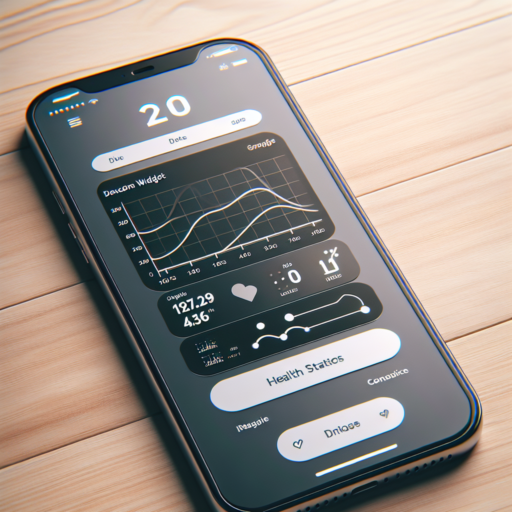
Adding a Dexcom widget to your smartphone or tablet can significantly enhance the way you monitor your glucose levels, offering instant access to your data without needing to navigate through multiple apps. Dexcom, known for its continuous glucose monitoring (CGM) systems, provides users with detailed insights into their glucose trends, helping those with diabetes manage their condition more effectively. But, when it comes to customization and ease of access, many users wonder whether they can add Dexcom as a widget on their device.
Creating a more seamless experience for monitoring glucose readings is crucial for individuals managing diabetes. With the right setup, users can have their glucose data displayed directly on the home screen of their devices. This convenience allows for quicker checks and, potentially, a more responsive approach to glucose management. However, the capability to add Dexcom as a widget varies depending on the operating system (iOS or Android) and the version of the Dexcom app you are using. This has led to mixed experiences among users, with some enjoying straightforward widget integration while others face limitations.
It’s important to navigate through the Dexcom app settings and your device’s widget support to understand how you can integrate Dexcom as a widget. Both Android and iOS platforms have unique steps for adding and customizing widgets, including how to resize them and how to select the type of information displayed. For many, this feature is a game-changer, making glucose management a more integrated part of their daily tech use. Moreover, the visual aspect of having your glucose levels displayed boldly on your home screen can be a constant reminder to stay vigilant about your health.
How do you add widgets to your lock screen?
Adding widgets to your lock screen can significantly enhance your smartphone’s functionality, allowing quick access to crucial information and apps without unlocking your device. Whether you’re using an Android or iOS device, the process involves a few simple steps that can be easily followed. It’s a handy feature for those who want to glance at information like the weather, upcoming appointments, or track their fitness goals directly from the lock screen.
For Android Users
Android users have a somewhat straightforward way to add widgets to the lock screen. Firstly, make sure your device is running on a version that supports lock screen widgets. You can typically add widgets by long-pressing on an empty area of your home screen, tapping ‘Widgets’, and then selecting and holding the widget you want to add. Finally, drag it to the ‘Lock screen’ section. Note that the exact steps may vary slightly depending on your Android version and device manufacturer.
For iOS Users
With the introduction of iOS 14 and later versions, iPhone users can now customize their lock screens with widgets. To add widgets to your lock screen, wake up your iPhone and swipe right to view your existing widgets. Scroll down and tap ‘Edit’. Here, you’ll see a ‘+’ symbol at the top left corner which allows you to browse and add widgets. Choose your preferred widget and select ‘Add Widget’, then position it according to your liking. Remember to hit ‘Done’ to save your customization.
How do I keep my dexcom app open on my iPhone?
Keeping the Dexcom app continuously running on your iPhone ensures you are always updated with your glucose readings, which is vital for managing diabetes effectively. The iPhone’s system settings and the nature of how iOS manages apps can sometimes cause the Dexcom app to close or not update in the background. However, there are several steps you can take to ensure the Dexcom app remains active and consistently updates your glucose levels.
Adjust Your iPhone’s Background App Refresh Settings
One crucial step is to enable Background App Refresh for the Dexcom app. By doing so, you allow the app to update its content in the background, providing you with the latest glucose readings even when you’re not actively using it. To do this, go to Settings > General > Background App Refresh and ensure it’s turned on for the Dexcom app. This simple adjustment can greatly improve the app’s performance and reliability.
Disable App Optimization Features
iPhones are equipped with features designed to optimize battery usage, which can sometimes interfere with continuous app operation. Features such as Low Power Mode can restrict background app activities to save battery life, which could affect how the Dexcom app functions. Ensure that Low Power Mode is disabled by going to Settings > Battery and turning off Low Power Mode. Additionally, review any third-party battery-saving apps that may also impose restrictions on background app activities.
Regularly updating your Dexcom app and iOS version is also vital for seamless app operation. Updates often include optimizations and bug fixes that resolve issues related to app performance on iOS devices. Keep an eye on the App Store for any updates to the Dexcom app and check Settings > General > Software Update to ensure your iPhone’s operating system is up to date.
How do I get the Dexcom G6 on my Apple Watch face?
Integrating your Dexcom G6 Glucose Monitoring System with your Apple Watch is a streamlined way to keep tabs on your glucose levels without constantly reaching for your phone. Facilitating real-time glucose monitoring directly on your wrist, this setup ensures you’re always in tune with your health metrics. Here’s your straightforward guide to setting this up:
Step 1: Ensure Your Devices are Compatible
First and foremost, confirm that your Apple Watch and iPhone meet the compatibility requirements for the Dexcom G6 app. Your iPhone should be running the latest iOS version, and your Apple Watch should similarly be up-to-date. Compatibility is key to a smooth integration and performance between your devices.
Step 2: Download and Set Up the Dexcom G6 App
On your iPhone, search for the Dexcom G6 app in the App Store and download it. Follow the on-screen instructions to set it up. This usually involves entering your Dexcom account details and completing a brief setup process. It’s essential to ensure that your Dexcom G6 transmitter is properly linked with the app.
Step 3: Customize Your Apple Watch Face
Once the app is installed and set up on your iPhone, it’s time to add the Dexcom G6 complication to your Apple Watch face. Start by pressing firmly on your watch face to enter the customization mode. Swipe left or right to select your desired watch face, then tap on ‘Edit’. Navigate to the complications section, and you’ll find Dexcom G6 listed among the options. Select it to add the glucose monitoring feature directly to your watch face. After customization, press the crown to save your settings.
By following these steps, your Dexcom G6 readings will be just a glance away on your Apple Watch, allowing for continuous, convenient monitoring of your glucose levels. Remember, staying informed helps in managing and taking proactive steps towards your health goals.