No se han encontrado productos.
Where is my timer on my phone?
Locating the timer on your phone is a straightforward process, albeit it can slightly vary depending on whether you’re using an iOS or Android device. For iOS users, the timer is a built-in feature of the Clock app, which can be easily accessed from the home screen or through the Control Center. Android users, on the other hand, can find the timer within the Clock app as well, often found in the app drawer or accessible via the clock widget on the home screen.
Moreover, the versatility of smartphone timers allows for a broad range of applications, from cooking and exercise to study intervals and medication reminders. Utilizing the timer involves setting up the desired countdown duration and, in many cases, choosing a specific sound or alert for when the time expires. This personalized approach ensures that you are duly notified in a manner that best suits your activity or task.
In addition to the default timer, both iOS and Android platforms offer third-party apps designed to cater to more specialized needs. These can range from multiple timers running simultaneously to highly specific countdowns that include milliseconds for activities such as high-intensity interval training (HIIT). Exploring the app store relevant to your device will reveal a wealth of options that can further enhance your productivity and time management.
How do I set the time on a timer?
Setting the time on a timer is a simple process that can greatly enhance your time management skills. Whether it’s for cooking, studying, or any other activity, mastering this skill can lead to more efficient and productive days. The first step is to familiarize yourself with the type of timer you are using, as digital and mechanical timers have different setups.
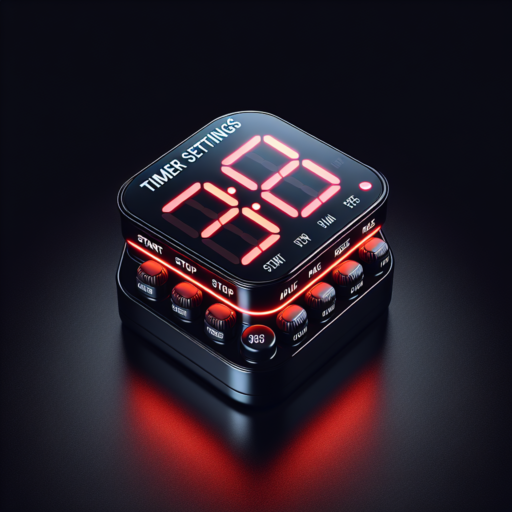
Digital Timers
For digital timers, the process generally starts with pressing a button labeled «Set» or «Clock.» You’ll then use the «+» and «-» buttons to select the desired hours and minutes. It’s essential to pay close attention to AM and PM settings if your timer includes them. After setting the time, pressing the «Start» button will begin the countdown. Digital timers often feature more precision and may include additional settings like alarms or intervals.
Mechanical Timers
On the other hand, mechanical timers require a more hands-on approach. Begin by turning the dial clockwise to the 60-minute mark or the maximum time limit. This action winds the timer’s mechanism. Then, rotate the dial counterclockwise to the desired time. The timer will start automatically as soon as you release the dial. Although mechanical timers lack the precise control of their digital counterparts, they offer simplicity and reliability.
Regardless of the type, ensuring your timer is set correctly is crucial for the task at hand. Whether you are using a digital or mechanical timer, the key is to practice and get familiar with its specific features and limitations. With a little patience, setting the time on a timer will become second nature.
How do I set the Google timer?
Setting a timer using Google’s search engine is a straightforward process and an incredibly handy tool for managing your time efficiently. Whether you’re cooking, exercising, or need a reminder, Google’s timer can be accessed within seconds. This guide will walk you through the easy steps to get your timer up and running directly from the Google search bar.
Steps to Set the Google Timer
- Open your preferred web browser and navigate to the Google search page.
- In the search bar, type «Set timer for X minutes/hours», replacing «X» with the specific time duration you need for your timer.
- Hit Enter or click the Google search button. Your timer will start immediately in the search results page.
- To pause, reset, or stop the timer, use the controls directly below the timer on the search results page.
The convenience of setting a timer via Google lies in its accessibility and ease of use. Unlike traditional timers, there’s no need to download an app or purchase a physical device; all you need is an internet connection. After initiating the timer, Google will display it prominently at the top of the search results page, counting down in real-time. If your device’s volume is turned on, you’ll hear an alarm when your timer reaches zero, ensuring you’re promptly alerted.
Google’s timer feature supports various time formats, allowing you to specify the duration in hours, minutes, and even seconds for precise time management. For multitaskers and those managing tight schedules, leveraging this tool can enhance productivity and ensure no task is forgotten. Next time you’re on Google, remember this swift and efficient method to help keep track of your time.
How to set a timer for lights?
Setting a timer for your lights can enhance the security and efficiency of your home. This process isn’t just about saving on your electricity bill; it’s also about creating a living space that adapts to your schedule and lifestyle. Getting started might seem complex, but it’s simpler than you might think.
Choosing the Right Timer
Before diving into the setup, it’s crucial to select the appropriate timer. There are various types on the market, including manual timers, digital timers, and smart plugs. Manual timers are straightforward and cost-effective, ideal for straightforward on/off operations. Digital timers offer more flexibility with multiple on/off cycles. Smart plugs, however, provide the most versatility, allowing control through smartphone apps, even when you’re away from home.
Installation Steps
- For manual timers: Plug the timer into the outlet, then plug your lamp into the timer. Set the current time and your desired on/off times.
- For digital timers: Similar to manual, but you’ll often have a digital interface to program multiple on/off cycles.
- For smart plugs: Plug the smart plug into your outlet and connect it to your home Wi-Fi via a smartphone app. From the app, you can set schedules or even control the lights remotely.
Setting a timer for your lights not only contributes to energy efficiency but also adds a layer of security and convenience to your home. Whether you opt for a manual, digital, or smart timer, the process can be straightforward with lasting benefits. Start by choosing the right timer for your needs and follow the simple installation steps to enjoy automated lighting that fits your lifestyle.