How do I put the band on my Apple Watch?
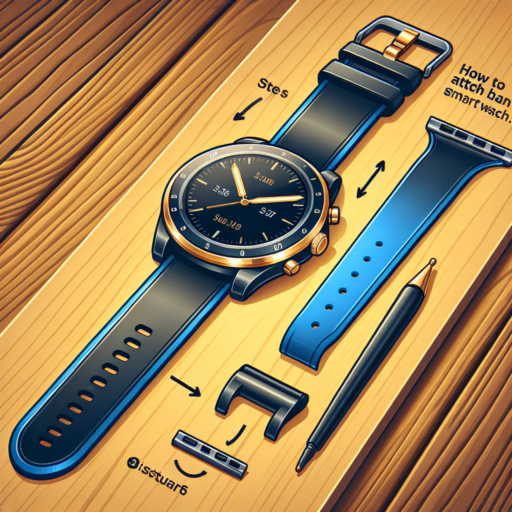
Attaching a new band to your Apple Watch is a simple process that can refresh the look of your watch and make it feel brand new. The first thing to ensure is that you have the correct type and size of band for your specific Apple Watch model. Once you’ve got your new band ready, you’re just a few steps away from giving your Apple Watch a fresh look.
Step-by-Step Guide to Attaching Your Apple Watch Band
- Turn off your Apple Watch to avoid any accidental inputs or activations while you’re changing the band.
- Place your Apple Watch face down over a clean surface like a microfiber cloth or soft, lint-free pad to prevent scratching the screen.
- Hold the band release button on your Apple Watch. You’ll find this small oval button on the back of the watch, near where the band slides in. Press and hold it, then slide the current band out to remove it.
- To insert the new band, simply slide the new band in until you hear a click. This indicates the band is securely attached. If you don’t hear a click, slide the band back and forth gently until it locks into place.
Changing the band on your Apple Watch doesn’t require any tools and can be completed in just a few minutes. Whether you are swapping to a sport band for a workout or a classic leather strap for a night out, the process is the same. Just remember to ensure the band is secure before wearing your watch to keep it safe and secure on your wrist.
How do you fasten an Apple Watch band?
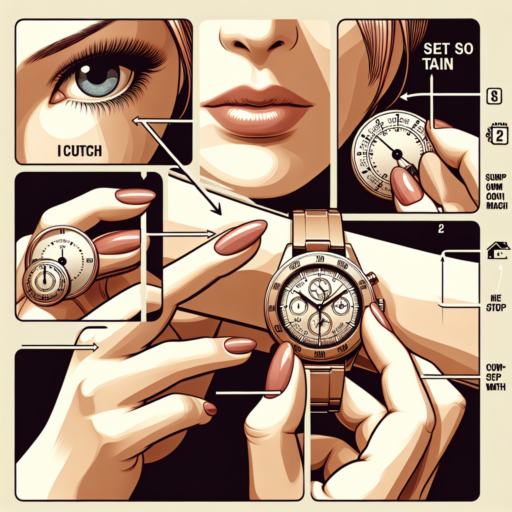
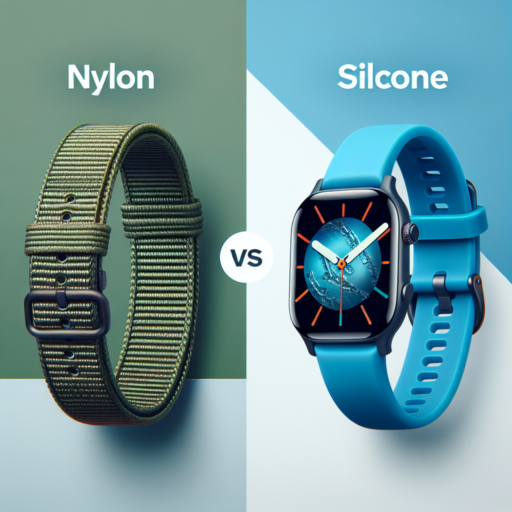
Fastening an Apple Watch band is a straightforward process, but it’s essential to do it correctly to ensure that your watch is secure on your wrist and comfortable to wear throughout the day. There are several steps and tips to keep in mind, whether you are using the standard sport band, the Milanese loop, or any of the various types of bands available for Apple Watches.
Securing the Sport Band
To fasten a sport band, hold the Apple Watch facing up and place the band around your wrist. Match the pin on one end of the band with the holes on the other end. Once aligned, push the pin into the most comfortable hole and tuck the excess band into the slot on the other side. Ensure it’s snug but not too tight; you should be able to place one finger under the band.
Adjusting the Milanese Loop
For those with a Milanese loop, start by placing the watch on your wrist. The clasp on the Milanese loop is magnetic, offering a high level of adjustability. Gently wrap the band around your wrist and let the magnetic clasp catch at the point that feels comfortable to you. It’s important that the band feels secure without pinching your skin. The magnetic clasp mechanism makes it easy to adjust throughout the day if needed.
Different Apple Watch bands have their unique fastening mechanisms. While sport bands and Milanese loops are among the most popular, Apple offers a variety of bands, each with specific fastening instructions. Always refer to the official Apple Watch user guide or website for guidance on fastening any band that doesn’t use these common mechanisms. Ensuring your Apple Watch band is fastened correctly will improve both the security and comfort of your watch.
How do I reattach my Apple Watch band?
Reattaching your Apple Watch band is a straightforward process that can be done in just a few simple steps. Whether you’re switching to a different band to match your outfit or replacing an old band, it’s important to do it correctly to ensure your Apple Watch remains secure and comfortable on your wrist. Below, we’ll guide you through the process of reattaching your Apple Watch band.
Step 1: Prepare Your Apple Watch
Begin by powering off your Apple Watch to prevent any accidental inputs or scratches to the screen. Place your Apple Watch face down on a soft, lint-free cloth or mat to protect the screen. This preparation step is crucial to avoid any damage during the band reattachment process.
Step 2: Align the Band with the Watch
Take your new or existing Apple Watch band and align it with the band slots on your Apple Watch. Make sure the band is not upside down; the band’s release button should be on the same side as the watch’s release buttons. Proper alignment is key to a smooth reattachment process.
Step 3: Slide the Band into Place
Once aligned, gently slide the band into the slot until you feel a click, indicating the band is securely attached. If you do not hear a click, the band might not be properly aligned or fully inserted. Gently slide the band back and forth slightly to ensure it locks into place securely. It’s important to insert the band straight and not at an angle to avoid any damage to the watch or the band mechanism.
No se han encontrado productos.
How do you put a watch band on easily?
Changing or putting on a watch band might seem like a small task, but it’s one that can greatly influence both the comfort and the appearance of your watch. Whether you’re swapping out a band for maintenance or style, the process can be seamless with the right approach. In this discussion, we’ll guide you through the easiest methods to attach a watch band, ensuring your timepiece is back on your wrist in no feeling of time.
Choosing the Right Tools
Before starting, it’s crucial to choose the right tools. This often includes a spring bar tool, a small screwdriver, or in some cases, just your fingers. Using the appropriate tool not only eases the installation process but also prevents any accidental damage to your watch. For bands that use spring bars, a spring bar tool with a forked end will be your best ally, allowing you to easily manipulate the spring bars without applying excessive force.
Step-by-Step Guide to Easily Attaching Your Watch Band
- Identify the Correct Orientation: Make sure you know which end of the band goes at the top and which goes at the bottom of your watch. This is often indicated by the size of the band or marked directly on it.
- Align the Spring Bar: Insert one end of the spring bar into the lug hole. Then, using your tool or finger, compress the other end of the spring bar and align it with the opposite lug hole.
- Secure the Band: Once both ends are aligned, release the spring bar so it snaps into place. You might need to give it a gentle shake or press to ensure it’s securely attached.
Attaching a watch band by yourself not only saves you a trip to the jeweler but also equips you with the skill to interchange bands as you please. With practice, this process becomes faster and even more intuitive, allowing you to customize your watch for any occasion without any hassle.